Cedar Plank Bathroom Walls
Before I even start trying to break down this process for you from observing and interviewing Chris, I have to note–he did this one all by himself. We planned on adding planked walls to the lower half of this hall bath, but when? When I stopped throwing up all day. I wasn't sure. Last week, I flew to Ace Hardware headquarters in Chicago for a couple days (let's chat about that later) and when I got back, he had bought all the supplies and made a good dent in the project. Now that he finished all the paneling and the trim is in place–we thought we better write about the process, although there's still spackling, sanding, priming and painting to do before we can mark her "done." So, let's say this is part 1 of 2.
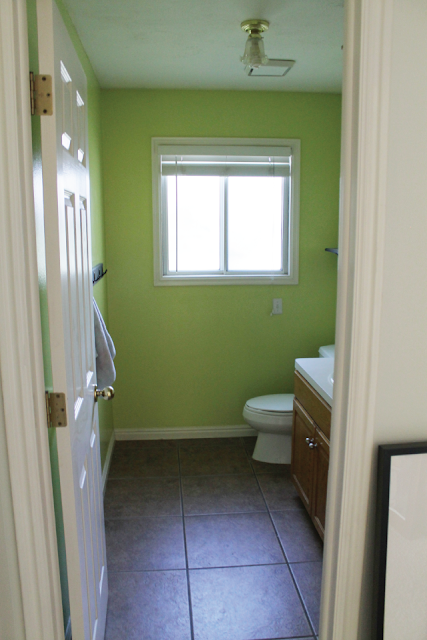
As a reminder, here's where we started:
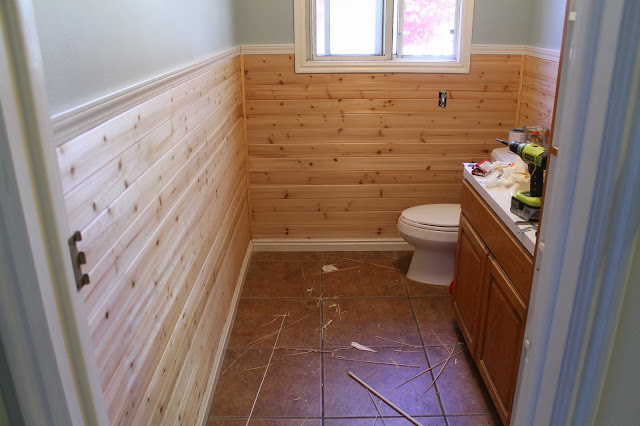
And after paint on the top half of the room, and planking on the bottom, here's how it's looking now:
For this project, Chris used:
- 3.5″x8′ tongue and groove cedar planking. (It came in a pack of 6 from Lowe's and he bought 6 packs)
- Stud finder
- Finish nailer
- Liquid nails for paneling
- Chair rail
- Corner molding
- Shims
- Re-used the existing baseboards
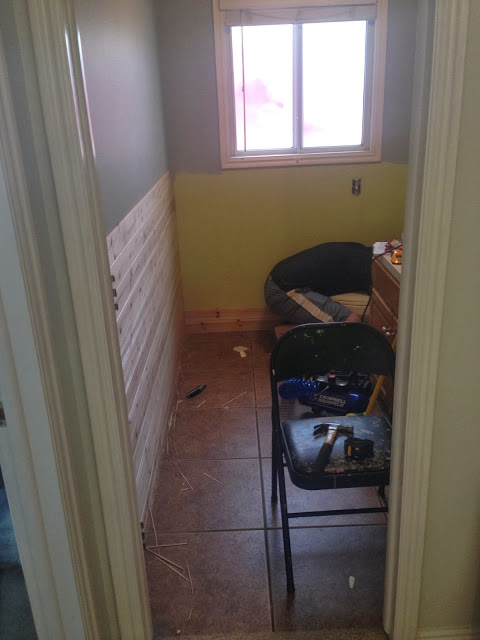
To start, he removed all the baseboards and marked where the studs were on each wall. To save time, he used the stud finder and marked where each stud fell, then used a level to draw a line straight up and down from that point. With the level out, Chris checked the floors really quick to discover they weren't completely level. So the first plank, he put some Liquid Nails on the back and stuck in on the wall and shimmed it until it was level and then nailed it in place with the nail gun. Luckily, the main wall in this bathroom was exactly 8 ft long, the length of the planks, so there was no measuring or cutting right off the bat. We really wanted solid planks, so Chris planned all the cuts around the room so the only seams visible are behind the toilet. So–not really visible. My man.
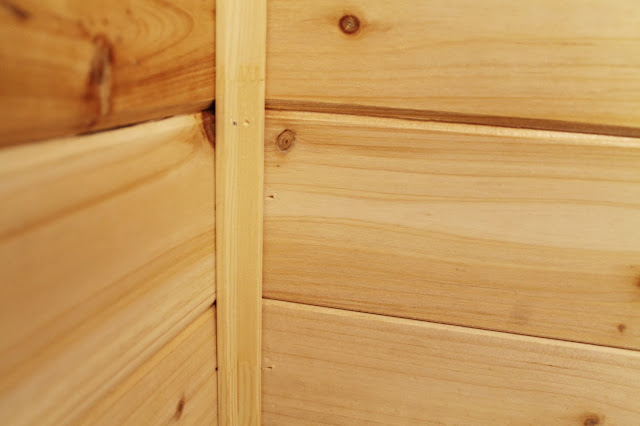
The rest of the process involved a lot of repetition. Some of the grooves weren't notched out very well, so he used a razor blade knife to manually cut the grooves or remove pieces that were already breaking off. He would also check to make sure everything was level ever 5-6 planks. The planking extends 4 ft up the wall (not including the top casing), or 14 planks.
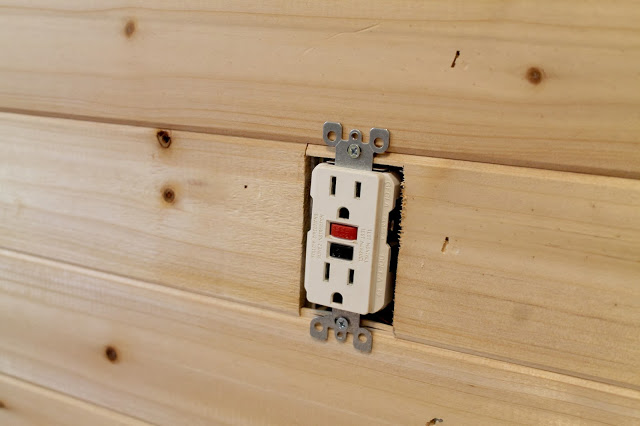
Around the plugs and light switches, Chris unscrewed each receptacle and pulled it out a little, then after cutting the planks to fit around them, he screwed the switches back in on top of the cedar.
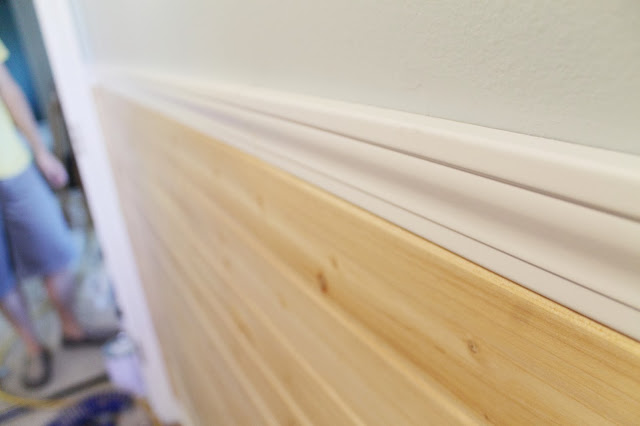
To finish it off, we added corner molding, chair rail, and reattached the baseboards after trimming them down just a little since they now sat on top of the planks.
Are we behind schedule? Considering our party is on Saturday and today is…Thursday? Yes! Yes we are. We got notice Monday that all of our accessories got shipped to our last address. Oh, boo. They are on their way here now, but we're not sure if they are going to make it in time. We are going to just keep going for it. We're good under pressure. Real good. But this good? Time will tell. Hopefully we'll have it all painted for tomorrow's post!
Source: https://www.chrislovesjulia.com/planking-bathroom-part-1/


0 Comments